
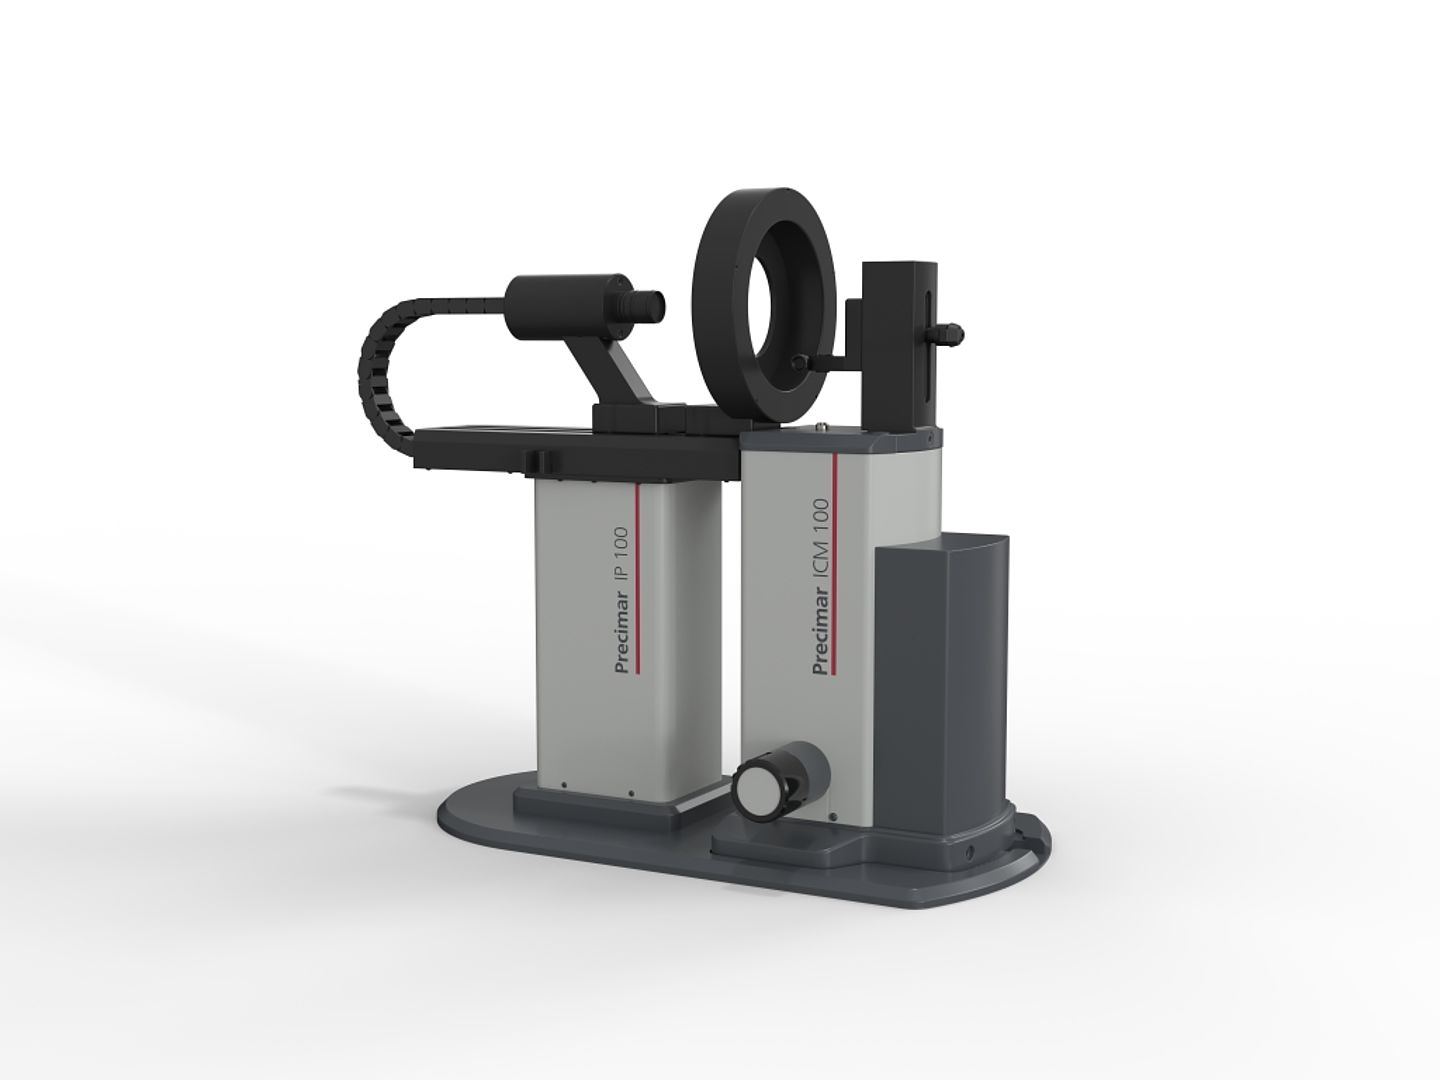
Safe and easy monitoring of your dial indicators and comparators with the Precimar ICM 100 IP
- Over 60 % time saving compared to manual testing
- Easy, intuitive handling and tool-free operation
- Flexible use for a wide range of gages
- Supports a wide range of standards
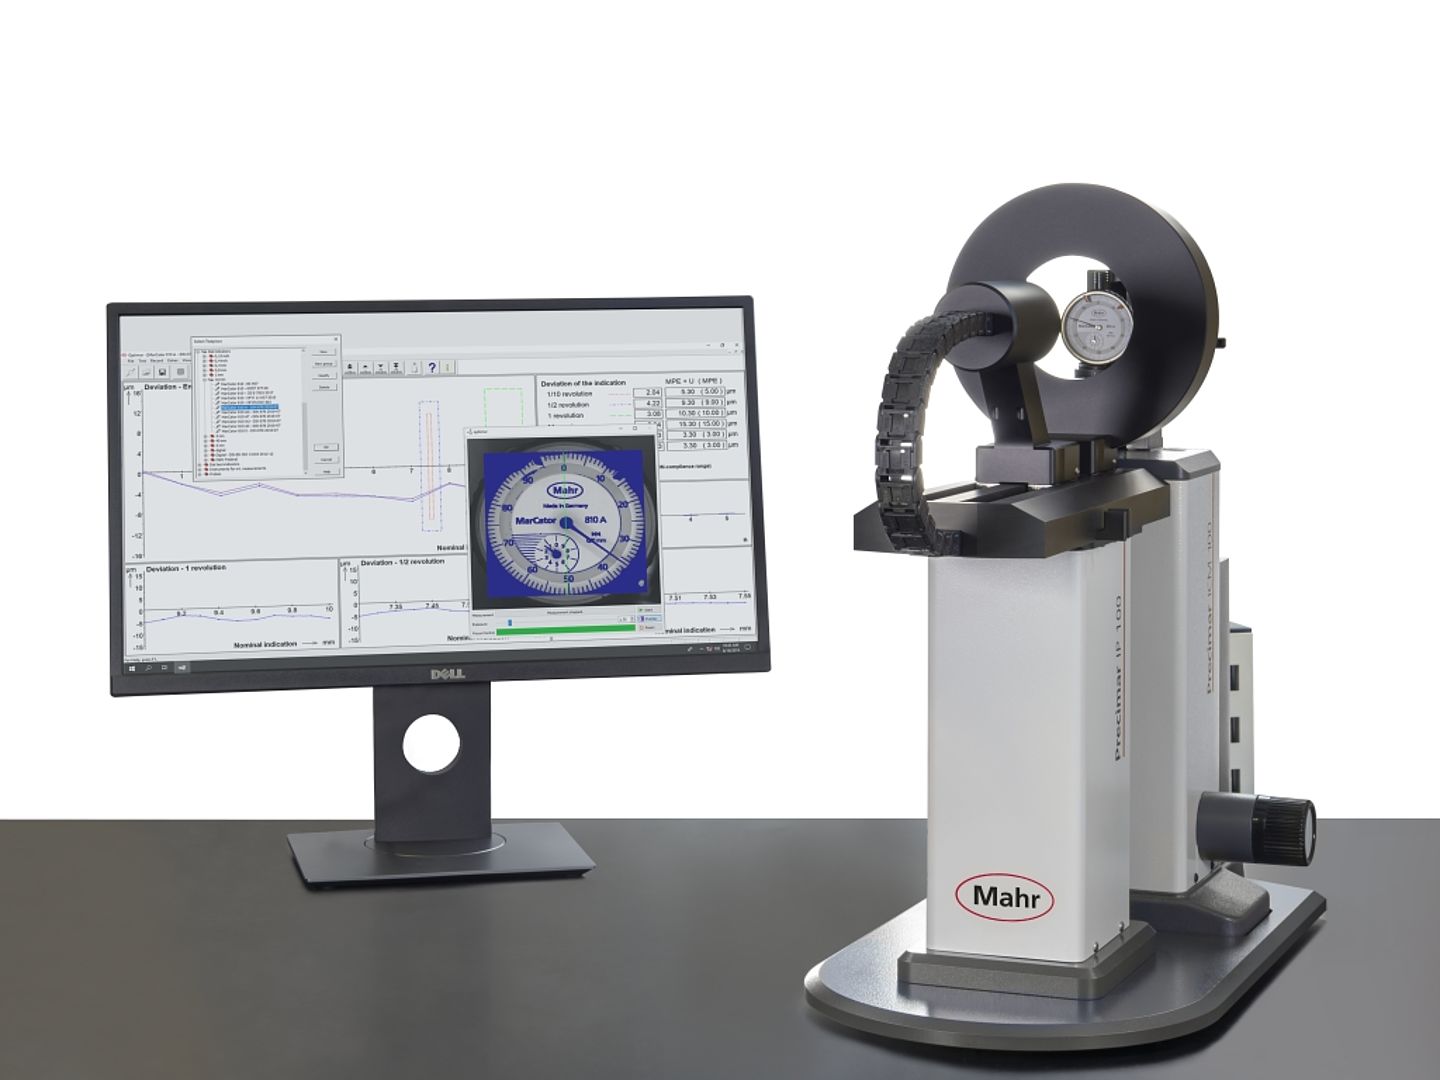
Intuitive software and live image make calibration a breeze
Ready to go in just a few moments – thanks to the live visualization on the monitor. You can see at a glance whether the camera is in focus and the exposure is sufficient. This is how intuitive and software-supported operation works.
266 test specimens are pre-programmed in Mahr's own operating software.
Even more flexible and optimal for the application with different measuring equipment
In addition to the dial gages, measuring probes with a display unit can also be used. This results in an even better overview for the employees in the production.
Master specific measuring tasks with the right accessories
With the different measuring attachments, even difficult spots can be checked reproducibly. The exchange of corresponding attachments is extremely simple and possible with standard tools.
Perfect for measuring widths, heights and diameters of small parts
Checking the dimensions of small parts with the Precimar SM 60 is conceivably fast, simple and yet very accurate. The tool of choice, especially when it comes to checking limit values.
Simple operation with overload protection
In manufacturing, it is important that the tools are easy to operate, flexible and robust. All attributes of the Precimar SM 60.
- Movable counter spindle sleeve
- Height-adjustable table
- One-hand operation with overload protection
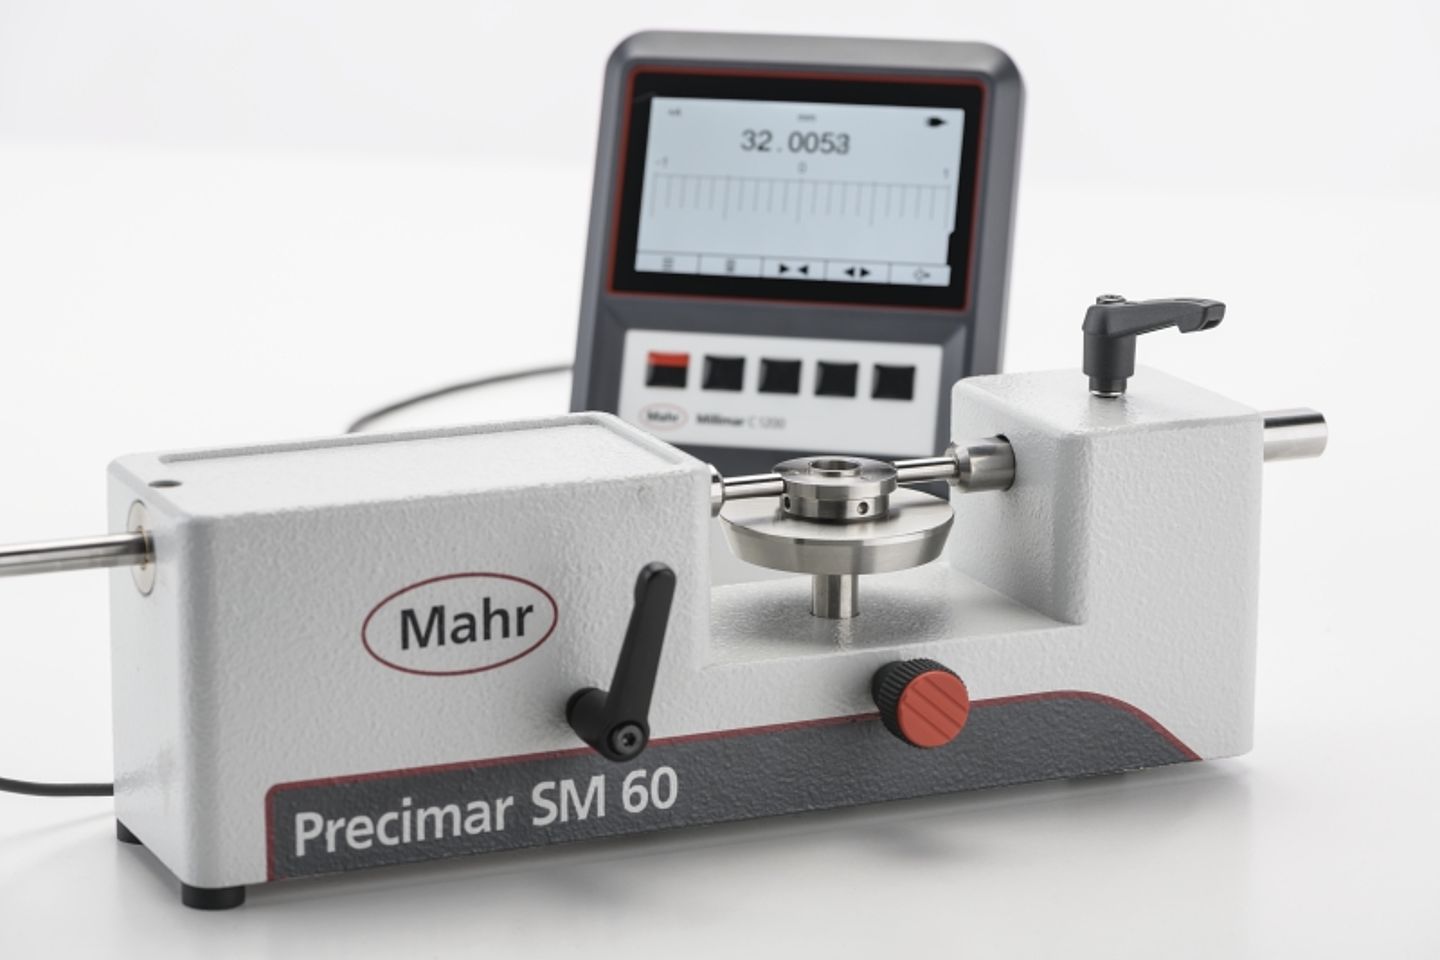
There is no easier and faster way to test small parts
The robust design and great flexibility make the Precimar SM 60 the perfect tool for quality-conscious manufacturing.
- Extra robust design with overload protection for immediate use on the shop floor.
- Large measuring table for workpieces up to 60 mm
- Individual combination possibilities with further measuring devices
- Single-handed operation suitable for left- and right-handers

Convenient height measurement with intuitive touch operation
Touch operation, ergonomic handling and a wide range of evaluation options: This is what the new Digimar 817 CLT height measuring device stands for, available to you in three measuring ranges: 350 mm, 600 mm and 1,000 mm.
- Swiveling and tilting display for relaxed work
- Air bearing system and handles for easy, smooth movement
- Function keys and thumbwheel simplify handling
- Powerful battery – up to two shifts long
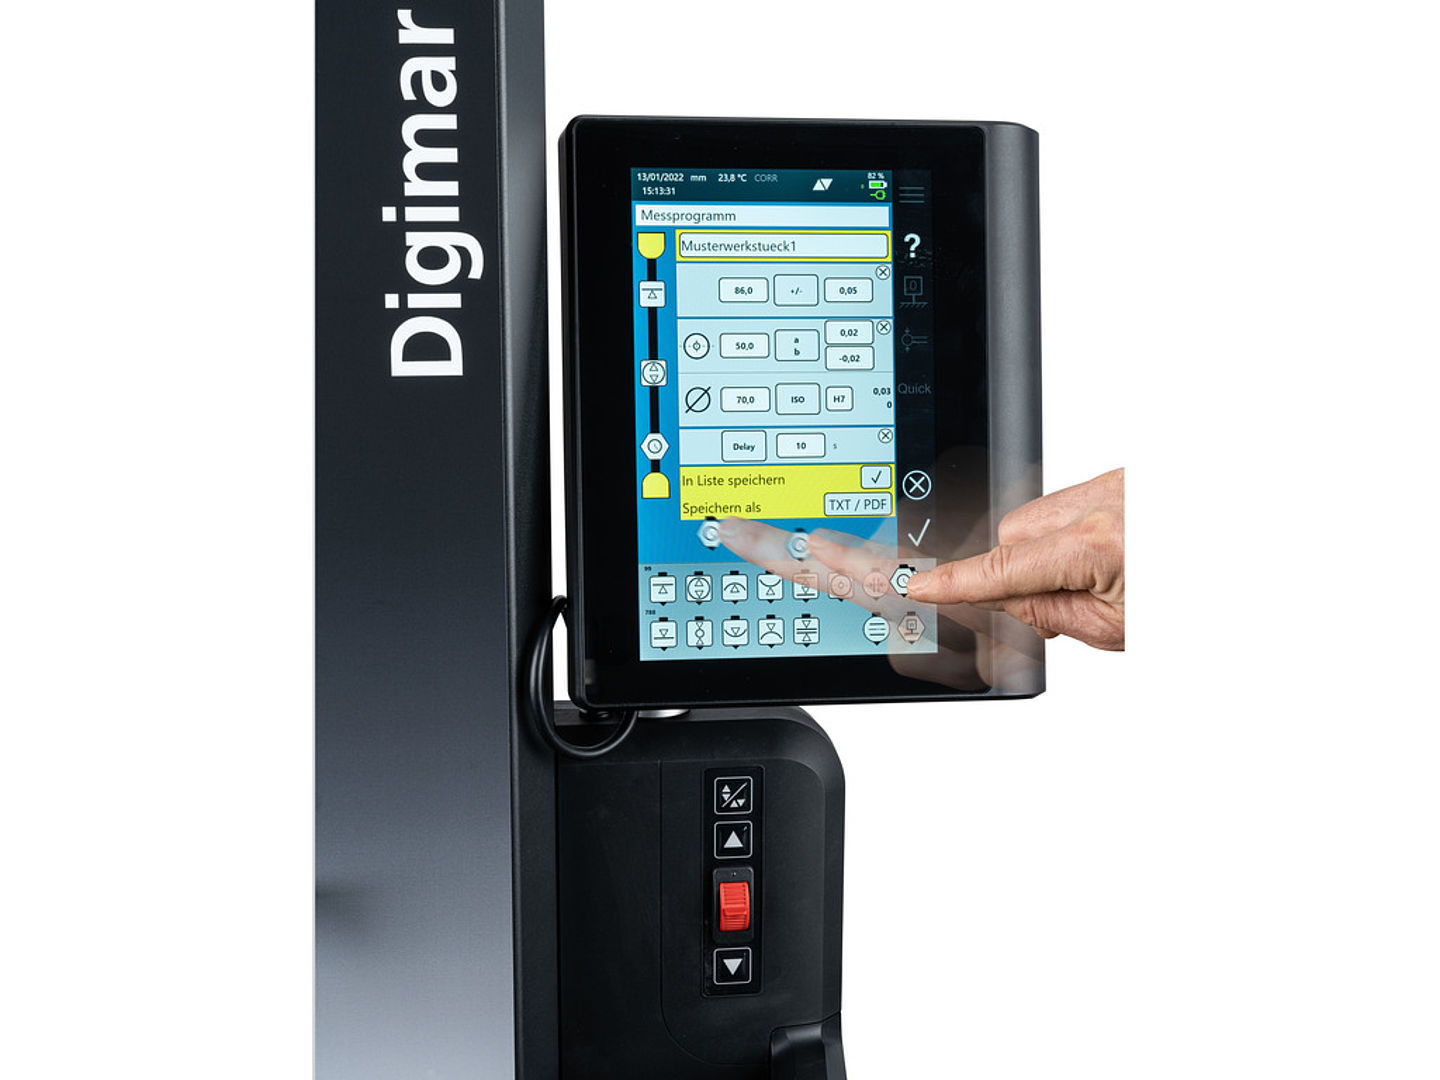
Ergonomics that can be measured
Ergonomics is when procedures, processes, and arrangements are oriented to people – and not the other way around. This is exactly what the new Digimar 817 CLT stands for: With simple sliding and scrolling, the touchscreen works just like you are used to from your smartphone and tablet.
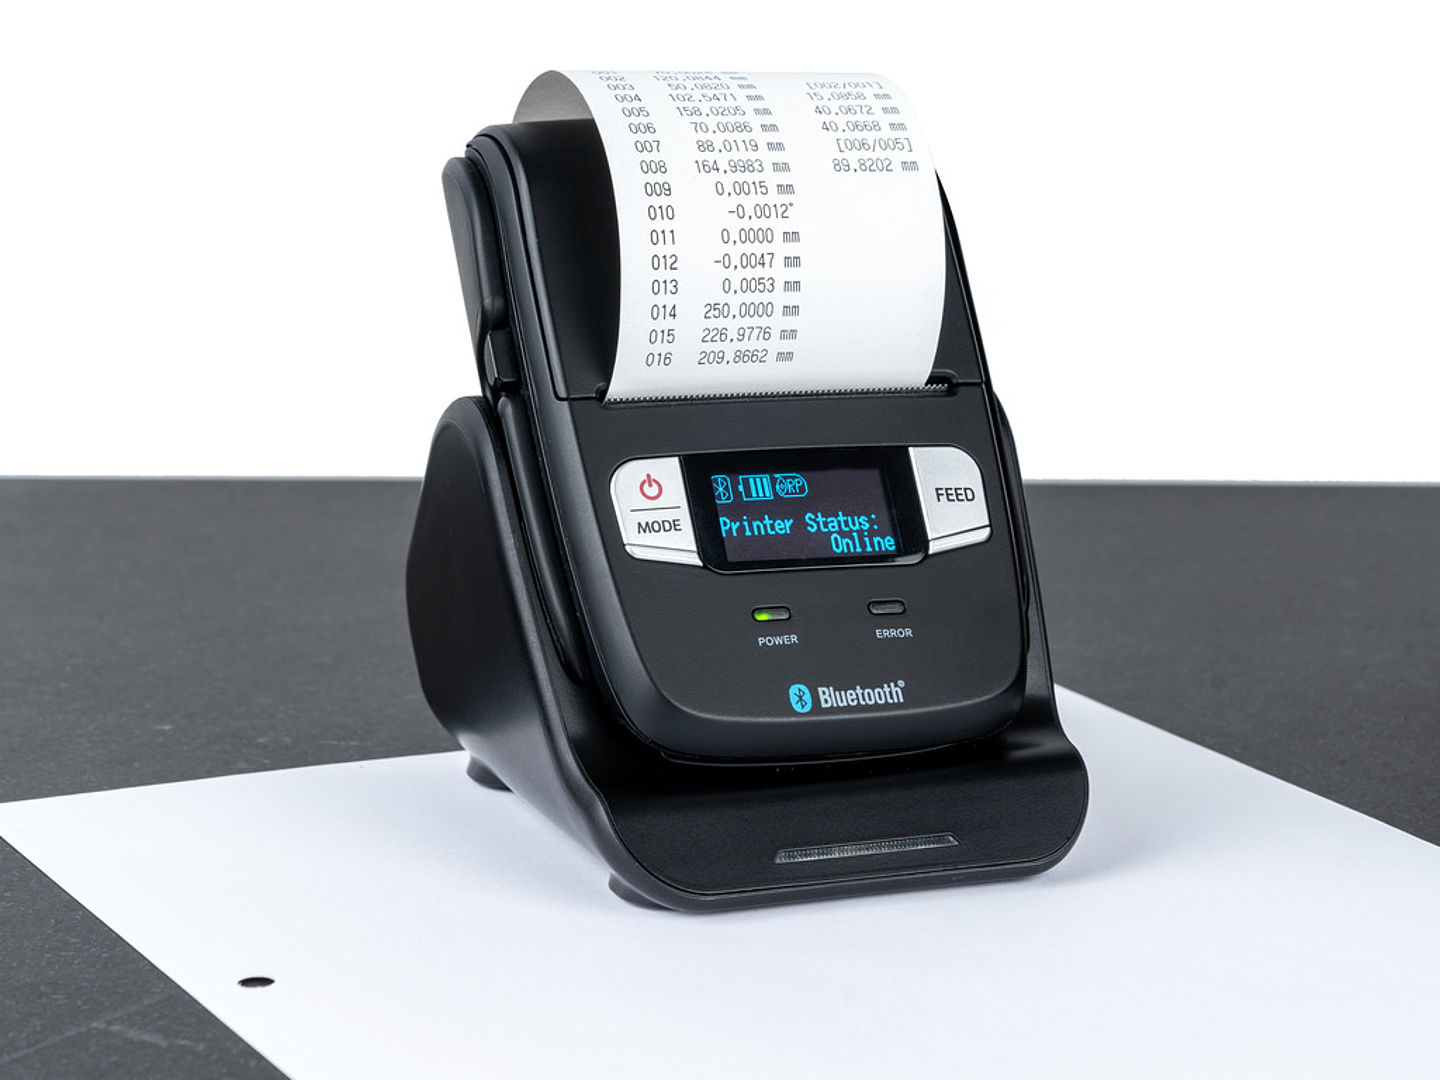
Best connections for secure data
The Digimar 817 CLT provides a variety of interfaces for securing your measurement data. Data transfer is possible wirelessly as well as cabled via the proven duplex interface MarConnect. For your measurement logs, simply choose between complete measurement logs in PDF format, sending individual measurement values to the PC, the Bluetooth printer or saving as a TXT file.
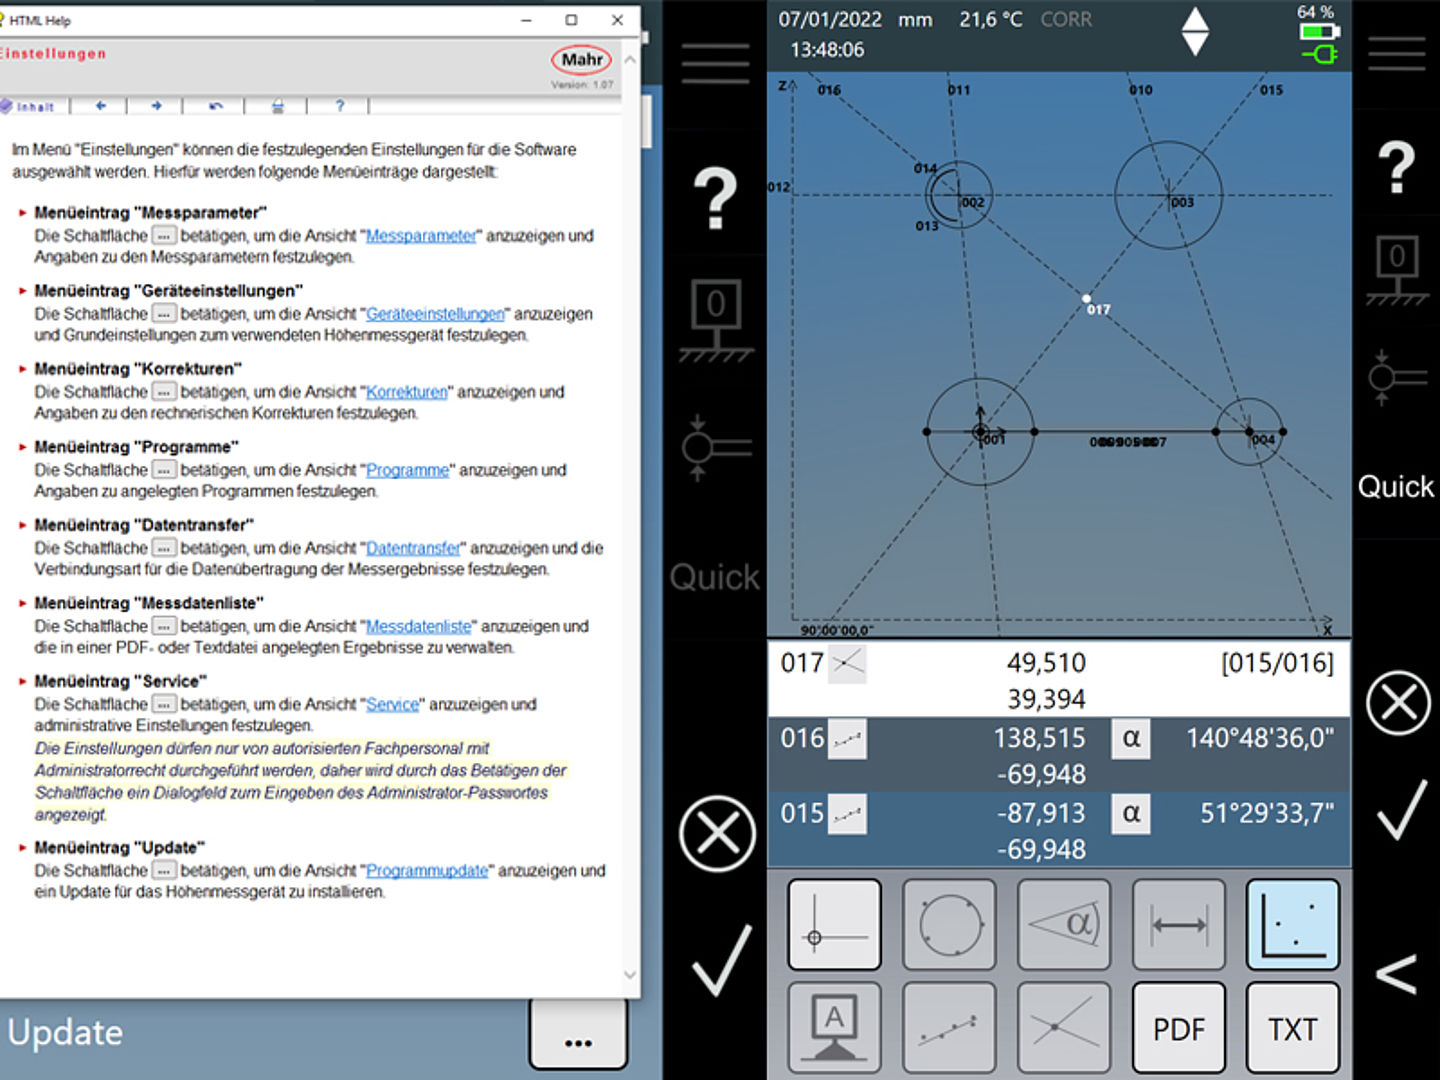
Measure easily by touch
The new Digimar 817 CLT can be operated intuitively via large, clearly arranged keys. This enables reliable execution of measurements, setting and calculation functions, as well as the creation of measurement programs via drag & drop.
- Extensive measurement and calculation functions
- Advanced 2D functions in display and calculation
- Perpendicularity and straightness measurement (with accessories)
- Automated measurement sequences via drag & drop or teach-in
